Qcknd Home Reno Series |Episode 7
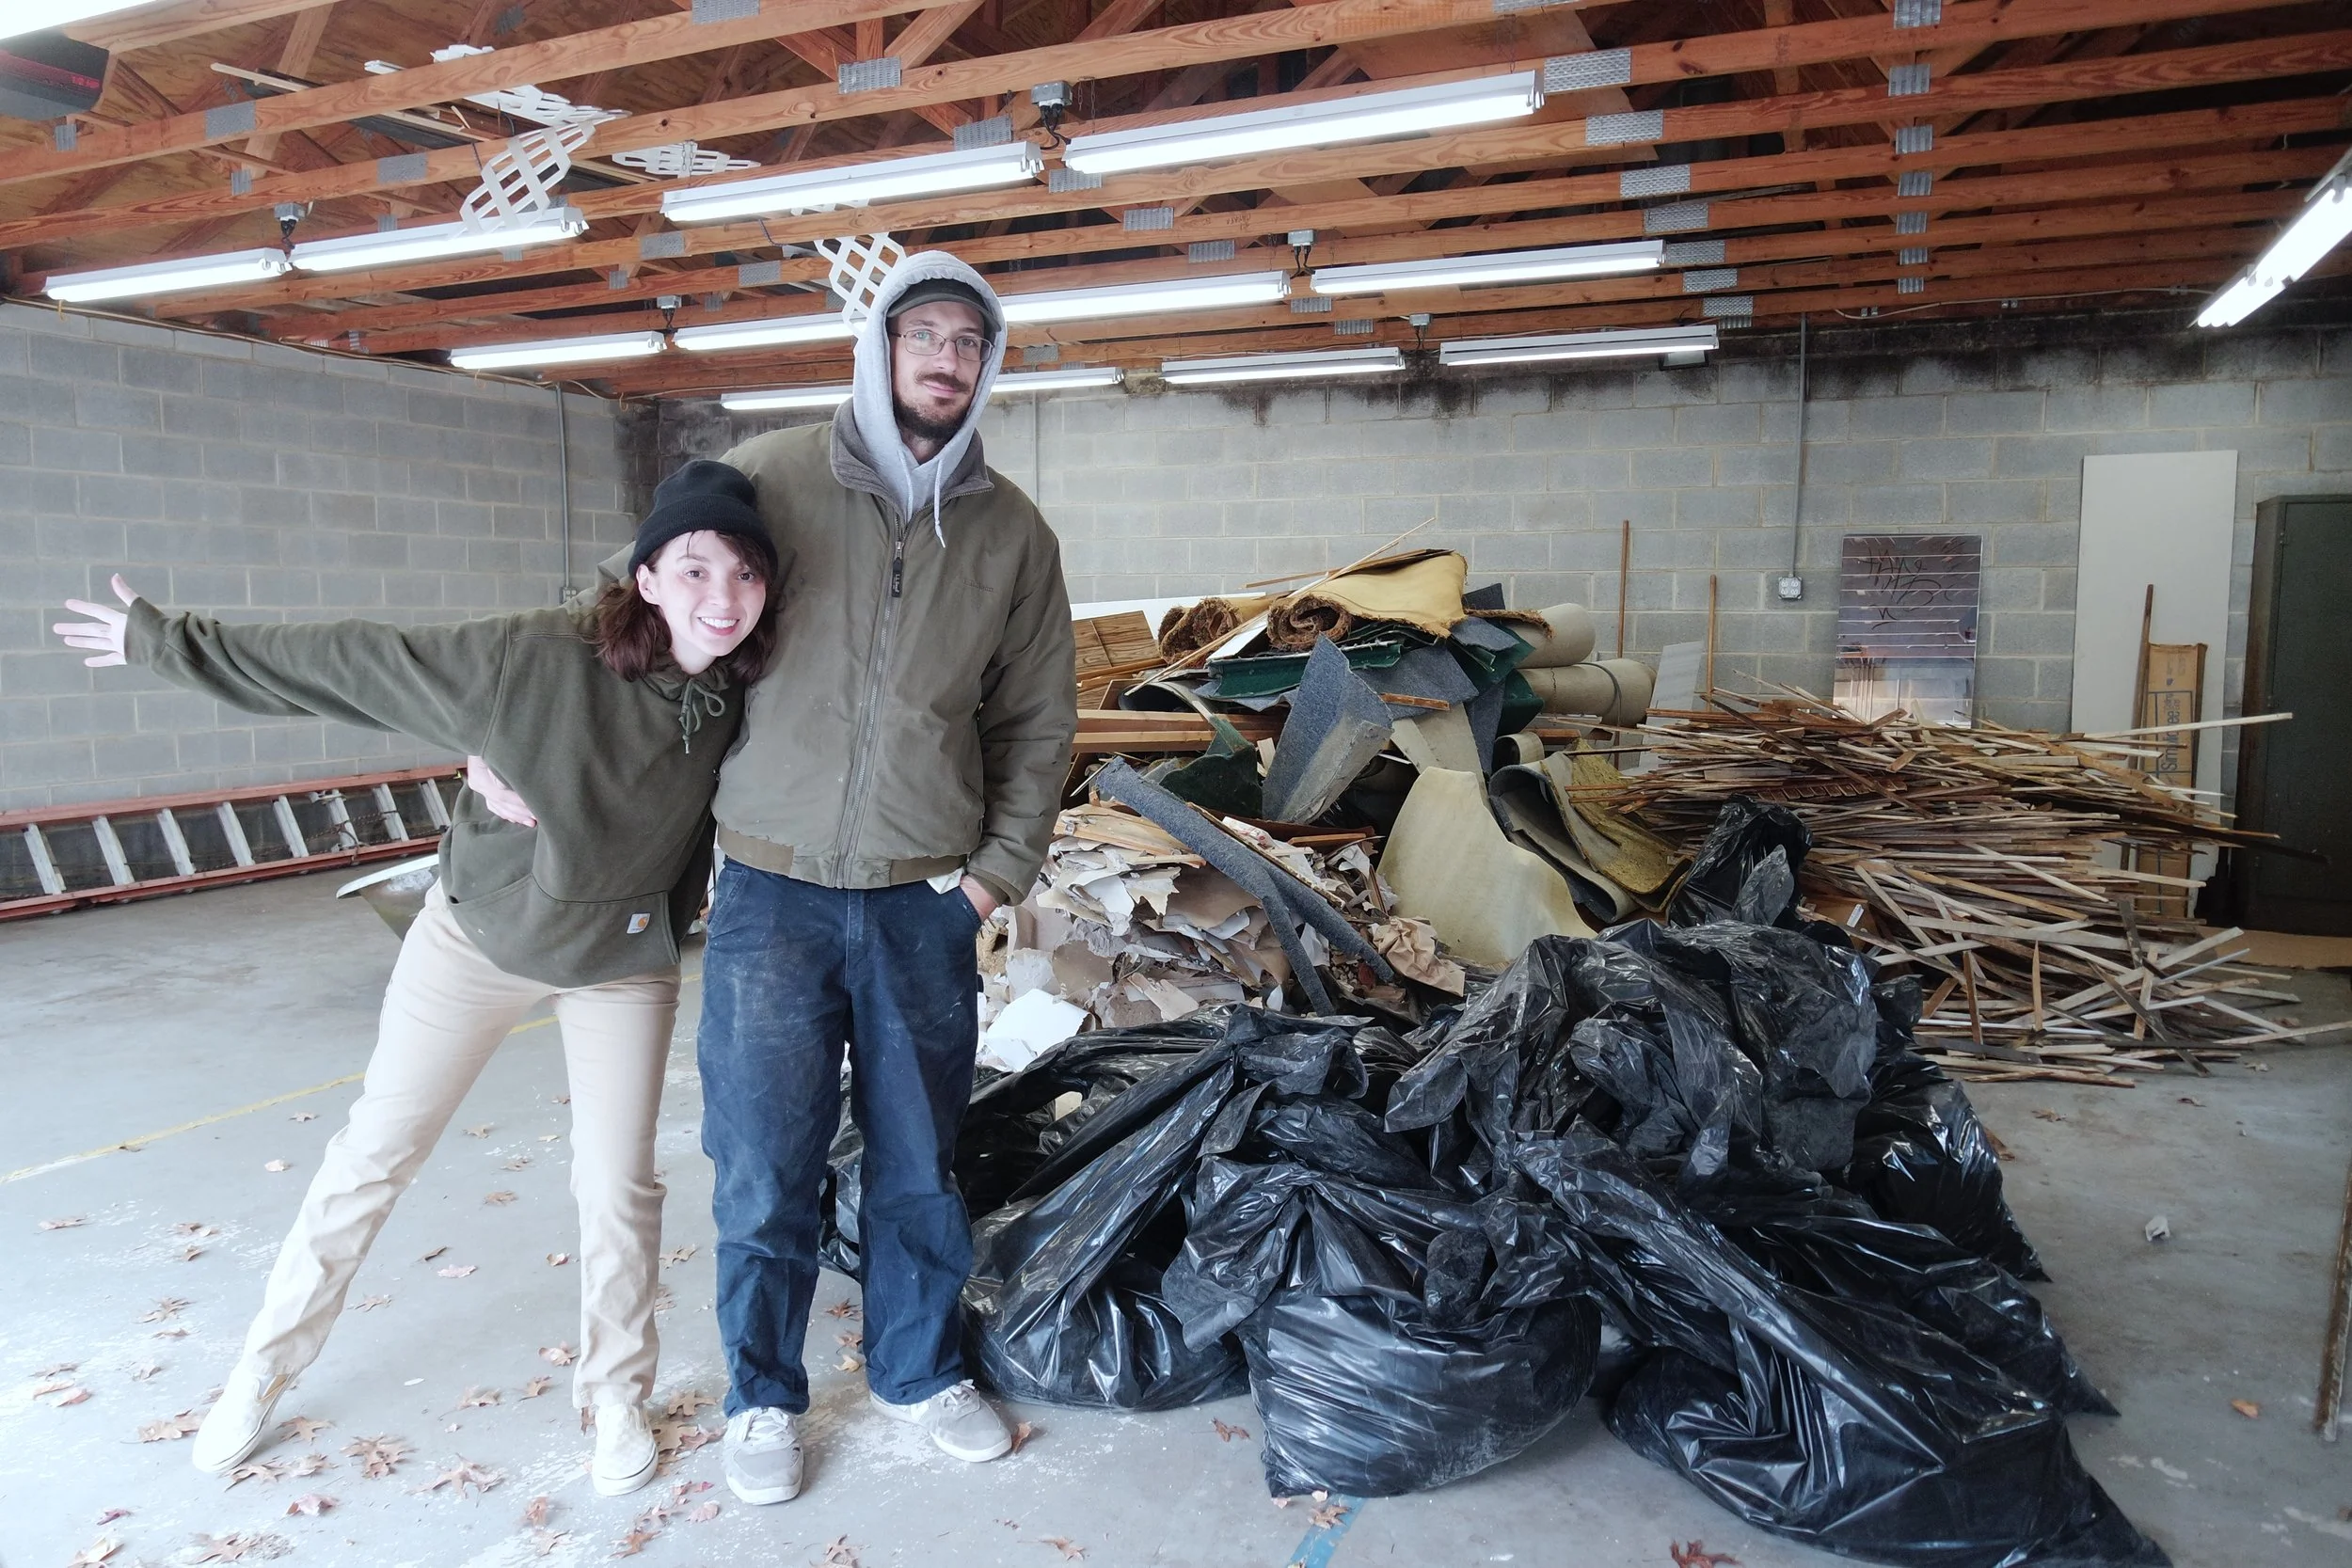
So this was the start of week six, but fell onto episode seven in the series. It starts off with a dump run from all the debris that was collected in the previous episode. It was so nice to have friends come over and help us with all of the demo, but now that most of the demolition is done, it was left to Jon and I to take all of the debris away. We didn’t even really think of renting a dumpster, I guess because we own a truck and can do it ourselves, or maybe because this is how we did it at our last house, where renting a dumpster wasn’t an option. It’s easy enough to pack everything into the truck. You have to be strategic, sure, but the hardest part for me is driving with such a large load in the bed of the truck. Every hill or sharp turn causes me to hold my breath until it's over, and that doesn’t even begin to cover all of the aggressive drivers. Every dump run takes a year off of my life, I swear, but we managed to get over a ton of debris out of the house, which leaves us a blank canvas to begin mapping out the new layout of the second story. I wondered it the house would be different with so much weight removed from the inside? Like, did the house breathe a sigh of relief? Our total cost was $128 dollars for the entire run, which I think saves us from renting a dumpster anyway, but I honestly don’t know the rates.
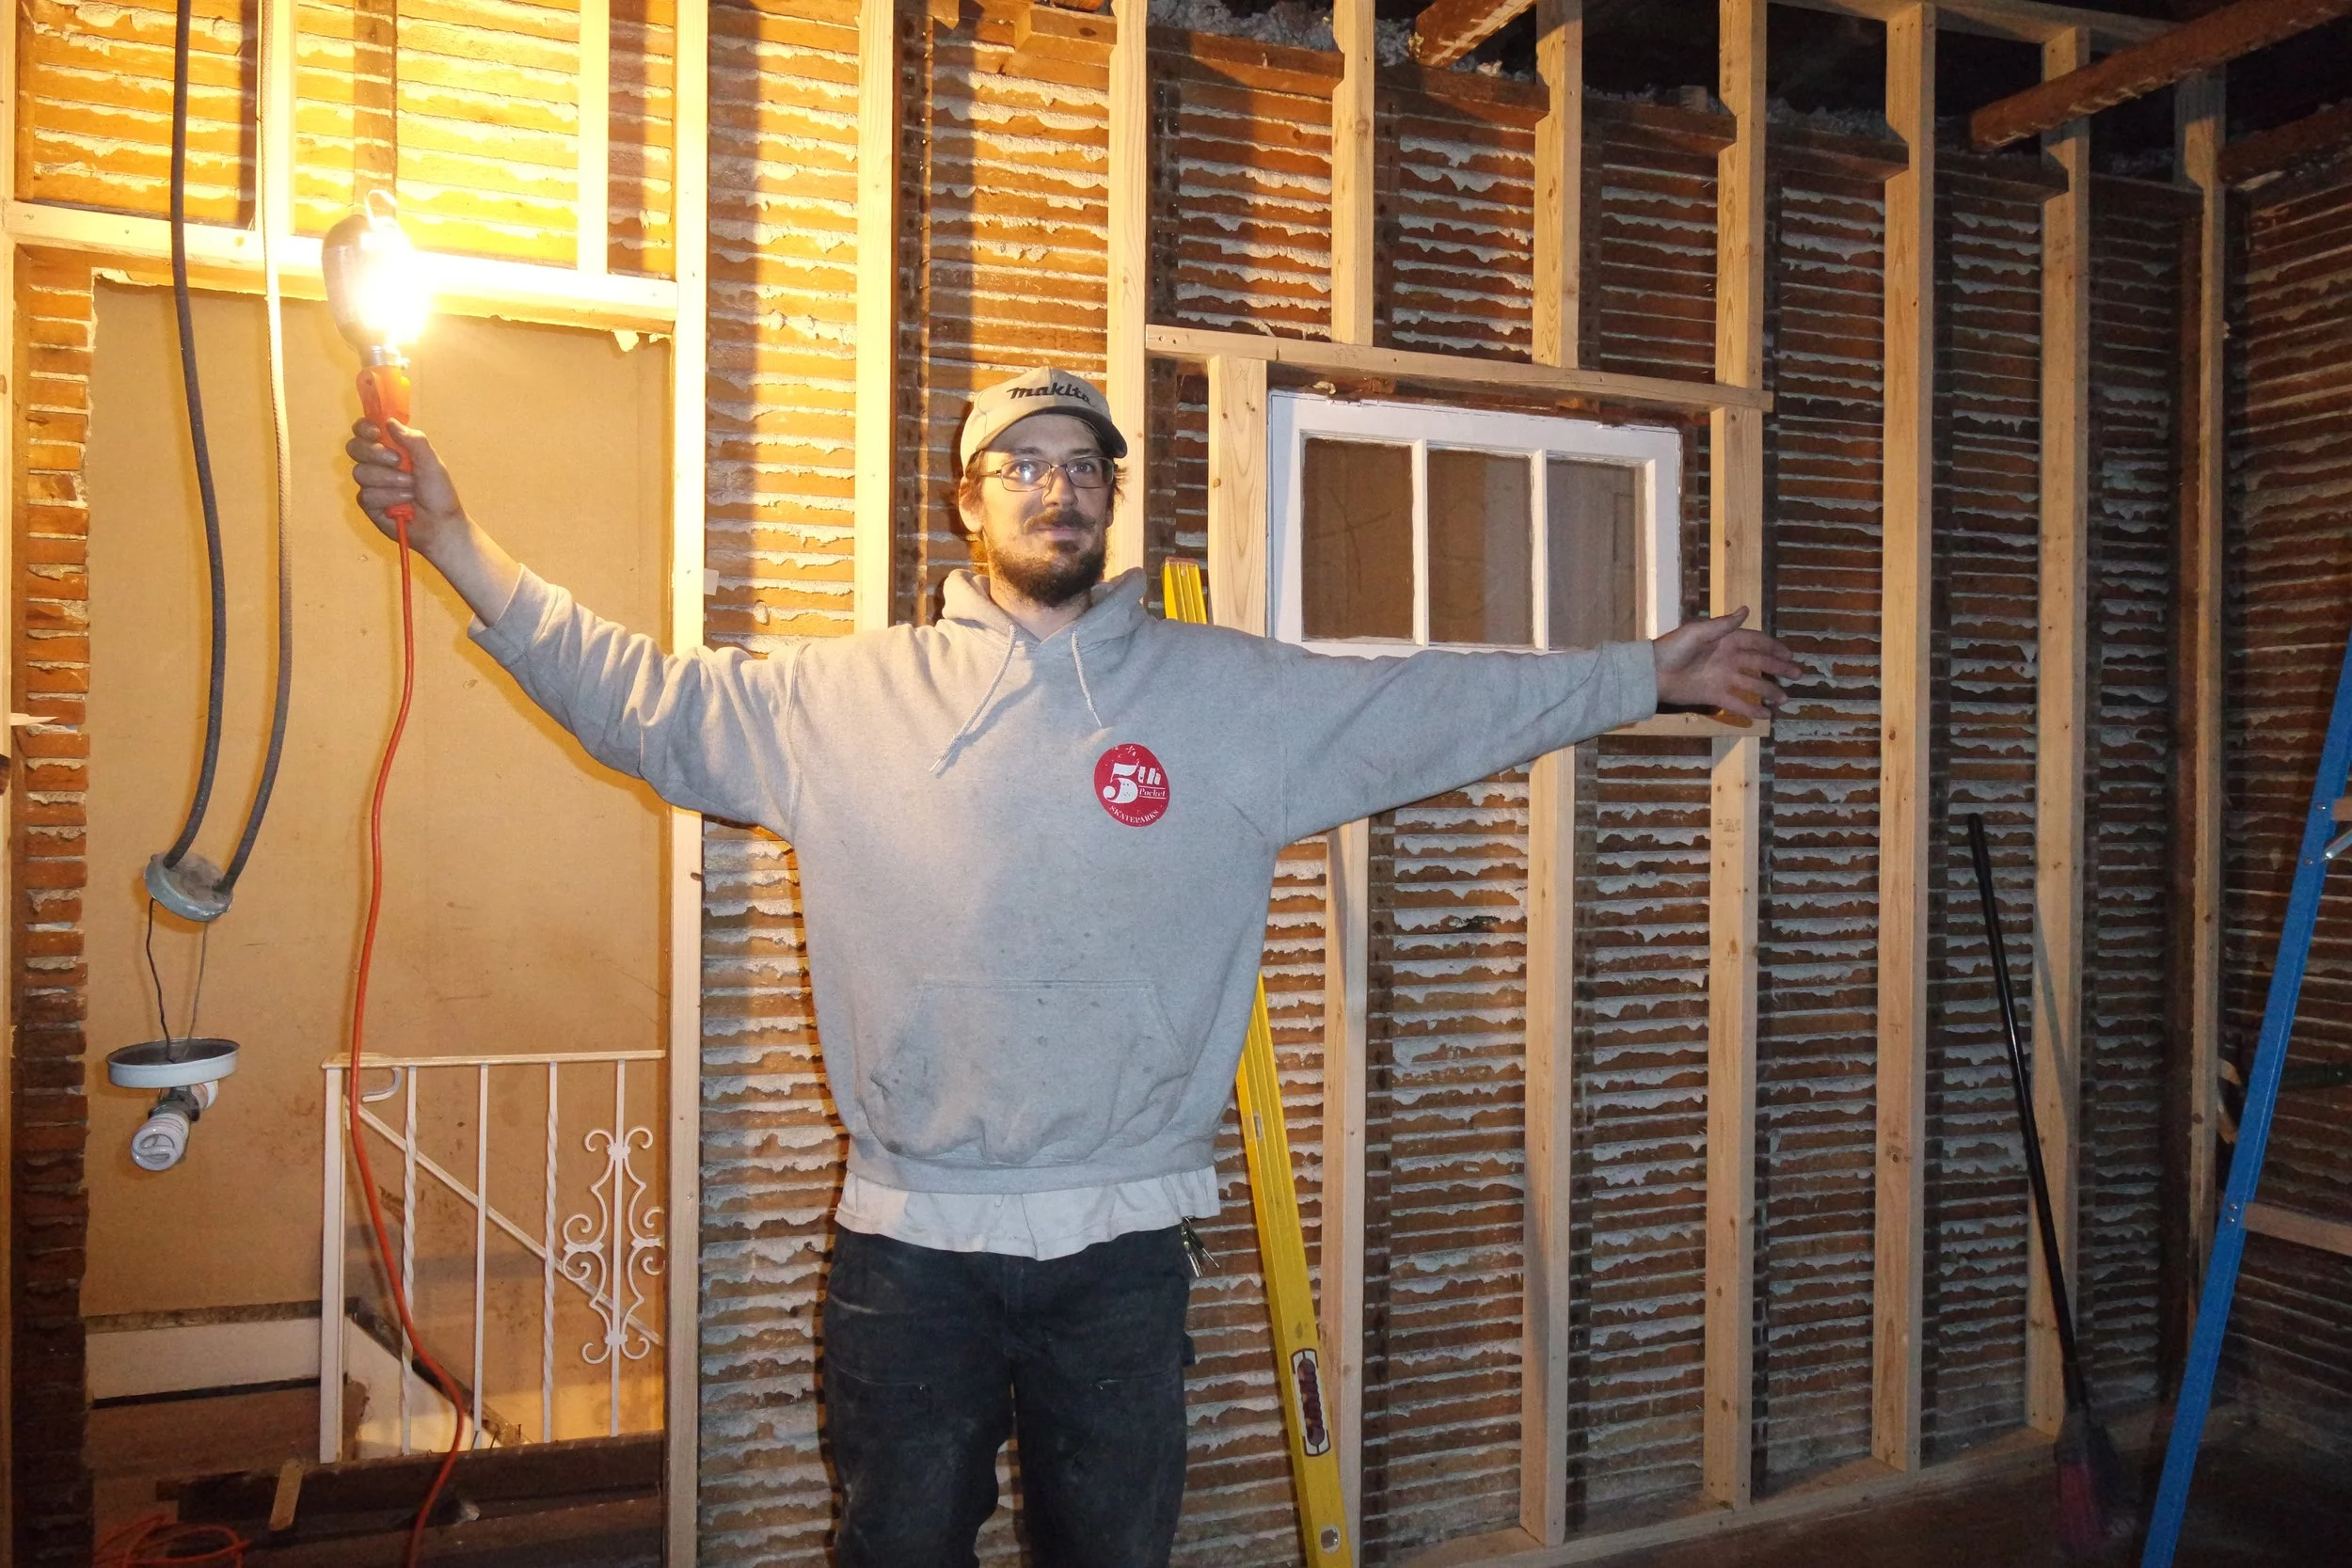
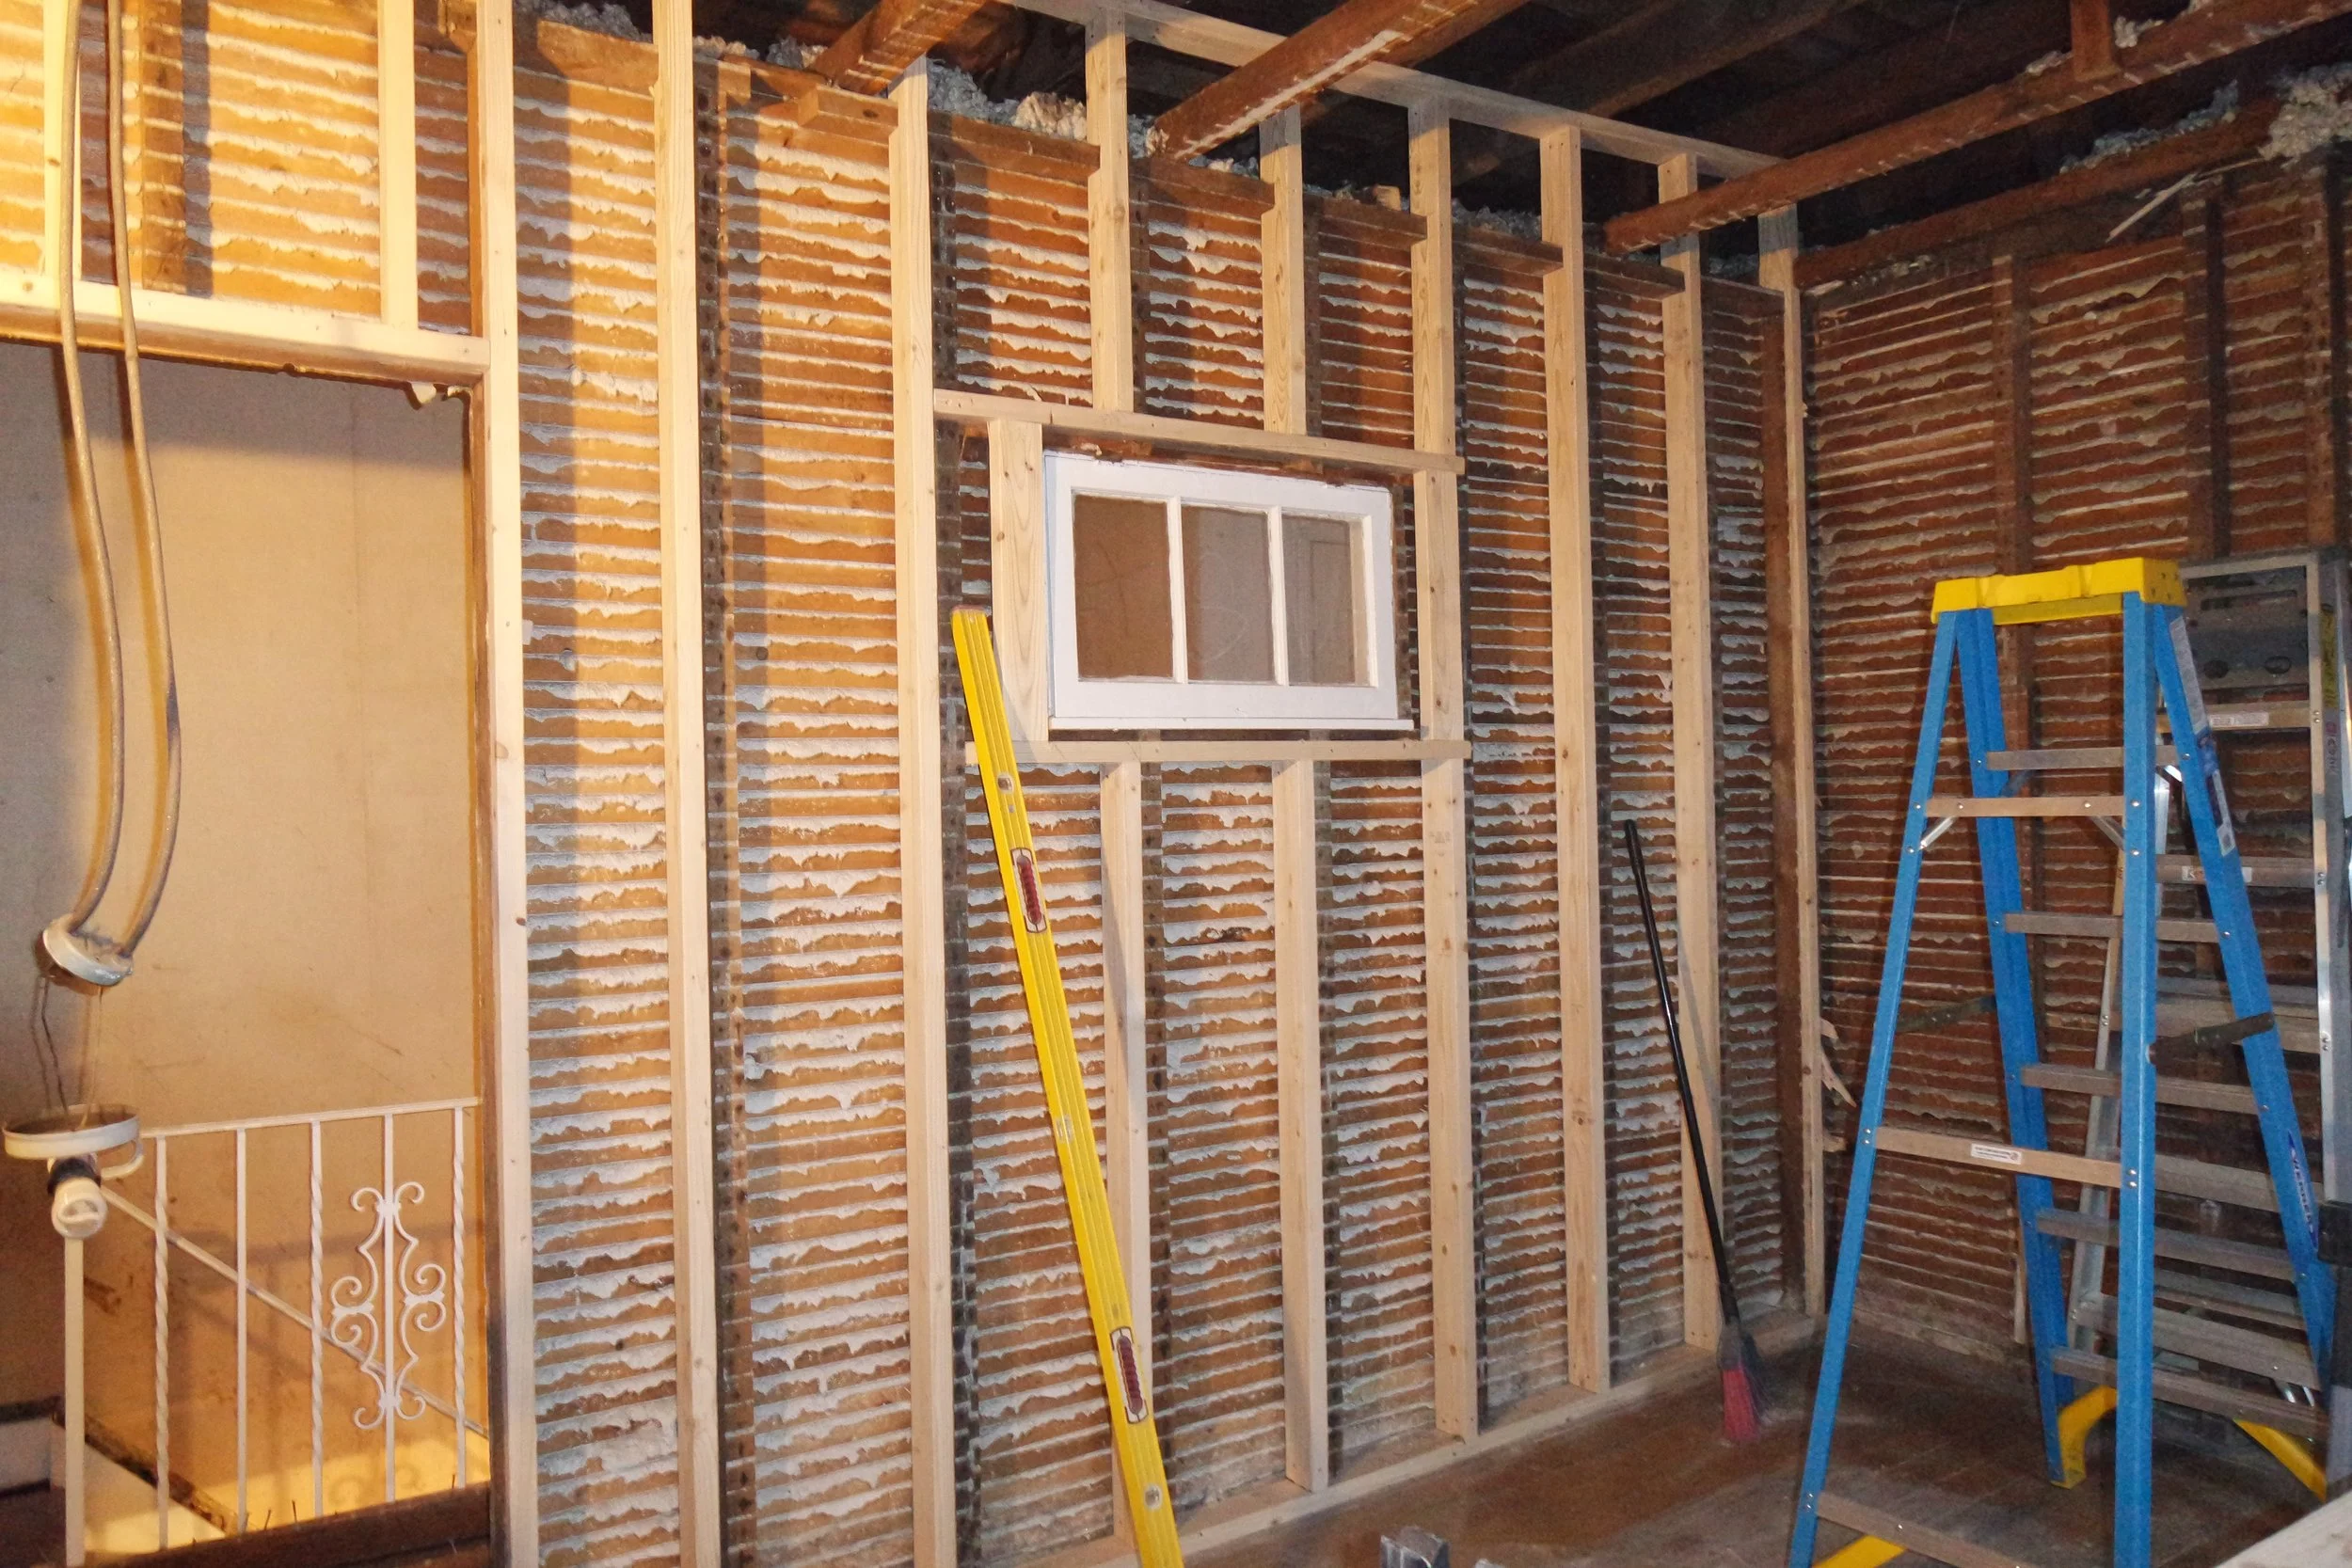
Overall, the dump run probably cost us about three hours of working daylight, which at the time of filming, is deep into the winter season. Still, we managed to get the main dividing wall framed between the bathroom and third bedroom. While I’ve watched it done plenty of times, this would be my first hands on experience framing a room. I explain it the best I can in so few words in my video, but framing is very math heavy. Honestly, I was very surprised that this much is involved in Jon’s daily work as a carpenter. I do yield all of our day to day math needs to him, but I didn’t know the extent of his expertise. I think most of us would avoid interacting with a fraction at any cost, so it took me a long time to be lead to water on this one. Like, I thought I could use a tape measure well enough, you know, 12 inches in a foot, etc…but when every fraction of an inch is important, I had to reluctantly ask for a refresher. We took turns paying for lumbar, which I think snapped my frugal self into gear right away, because after “inching”* a board, and watching it get thrown into the waste pile, I didn’t want to miss a single measurement again.
Studs are pressure fit into place, meaning they are cut to the exact measurement of the space, and forced tightly into the space with a hammer, then secured with a nailer. It was too soon in the process for me to feel comfortable using a saw, but to help the process move a little quicker, Jon would shout out measurements, and I would mark them on the lumber. He would then need to come down from the ladder to make the cuts, but I’m telling myself, it’s all baby steps. The looming deadline doesn’t help…but baby steps.

The next day was Sunday, and we woke up bright and early to get to work on framing the next room. Jon gifted me a tool belt, which I thought was sort of a funny guesture, but then he explained to me I need to keep my tools on me at all times. Pencil, measuring tape, speed square, pry bar, and hammer. Being treated like an equal, and not a shy baby deer made me feel like I was taking an equal part in the renovation. No i didn’t want to wear a belt, but when I understood why it was important, I felt more connected with the importance of my work. We were exhausted by this point, and Jon asked me not to film this day so I could focus. While filming the home renovation was very important to me, with my goal being to turn it into a youtube series, there are just some days where I don’t have the luxury of filming. We need to work fast and accurately, and filming always adds a layer of unconscious distraction, even if the camera is somewhere out of the way. I’m sad that there isn’t much footage of framing the office, because this was where I really perfected using a Speed Square, and mastering the measuring tape. Jon set up saw horses, so I was able to comfortably measure the lumber off of the floor, and he could easily make the cuts. We work again until it got dark, and I went home to enjoy a much needed bath.
Finally, in this episode, our plumber calls and lets us know he has a little free time, so we switch over to Plumbing Mode. Steve is our friend, and we want to respect the time he gives us, so we stop framing for the day and focus on bathrooms. First, our only working toilet was from, I don’t know, let’s guess the 80’s, or atleast, a time where water wasn’t considered a precious resource. If you remember in the 90’s when ‘low flow’ toilets came into vouge, or that episode of King Of The Hill about low flow toilets (I believe Hank is shy that he has to keep flushing for number two?), then you might remember a time before low flow toilets. Huge ten gallon flushes, or maybe more, I don’t know exactly what numbers our toilet was doing, but when Steve became avail, switching to a modern toilet was at the top of our list. We found one ‘new in box’ at the Habitat for Humanity store (a reclaimed/salvage store) with a matching sink for $75. When we got home Steve let us know that the sink we bought wasn’t compatible with the existing plumbing, but the toilet was installed without any problem. Replacing the sink is pretty low on our list, so we kept it as is. Another vanity sink will work with the current plumbing.

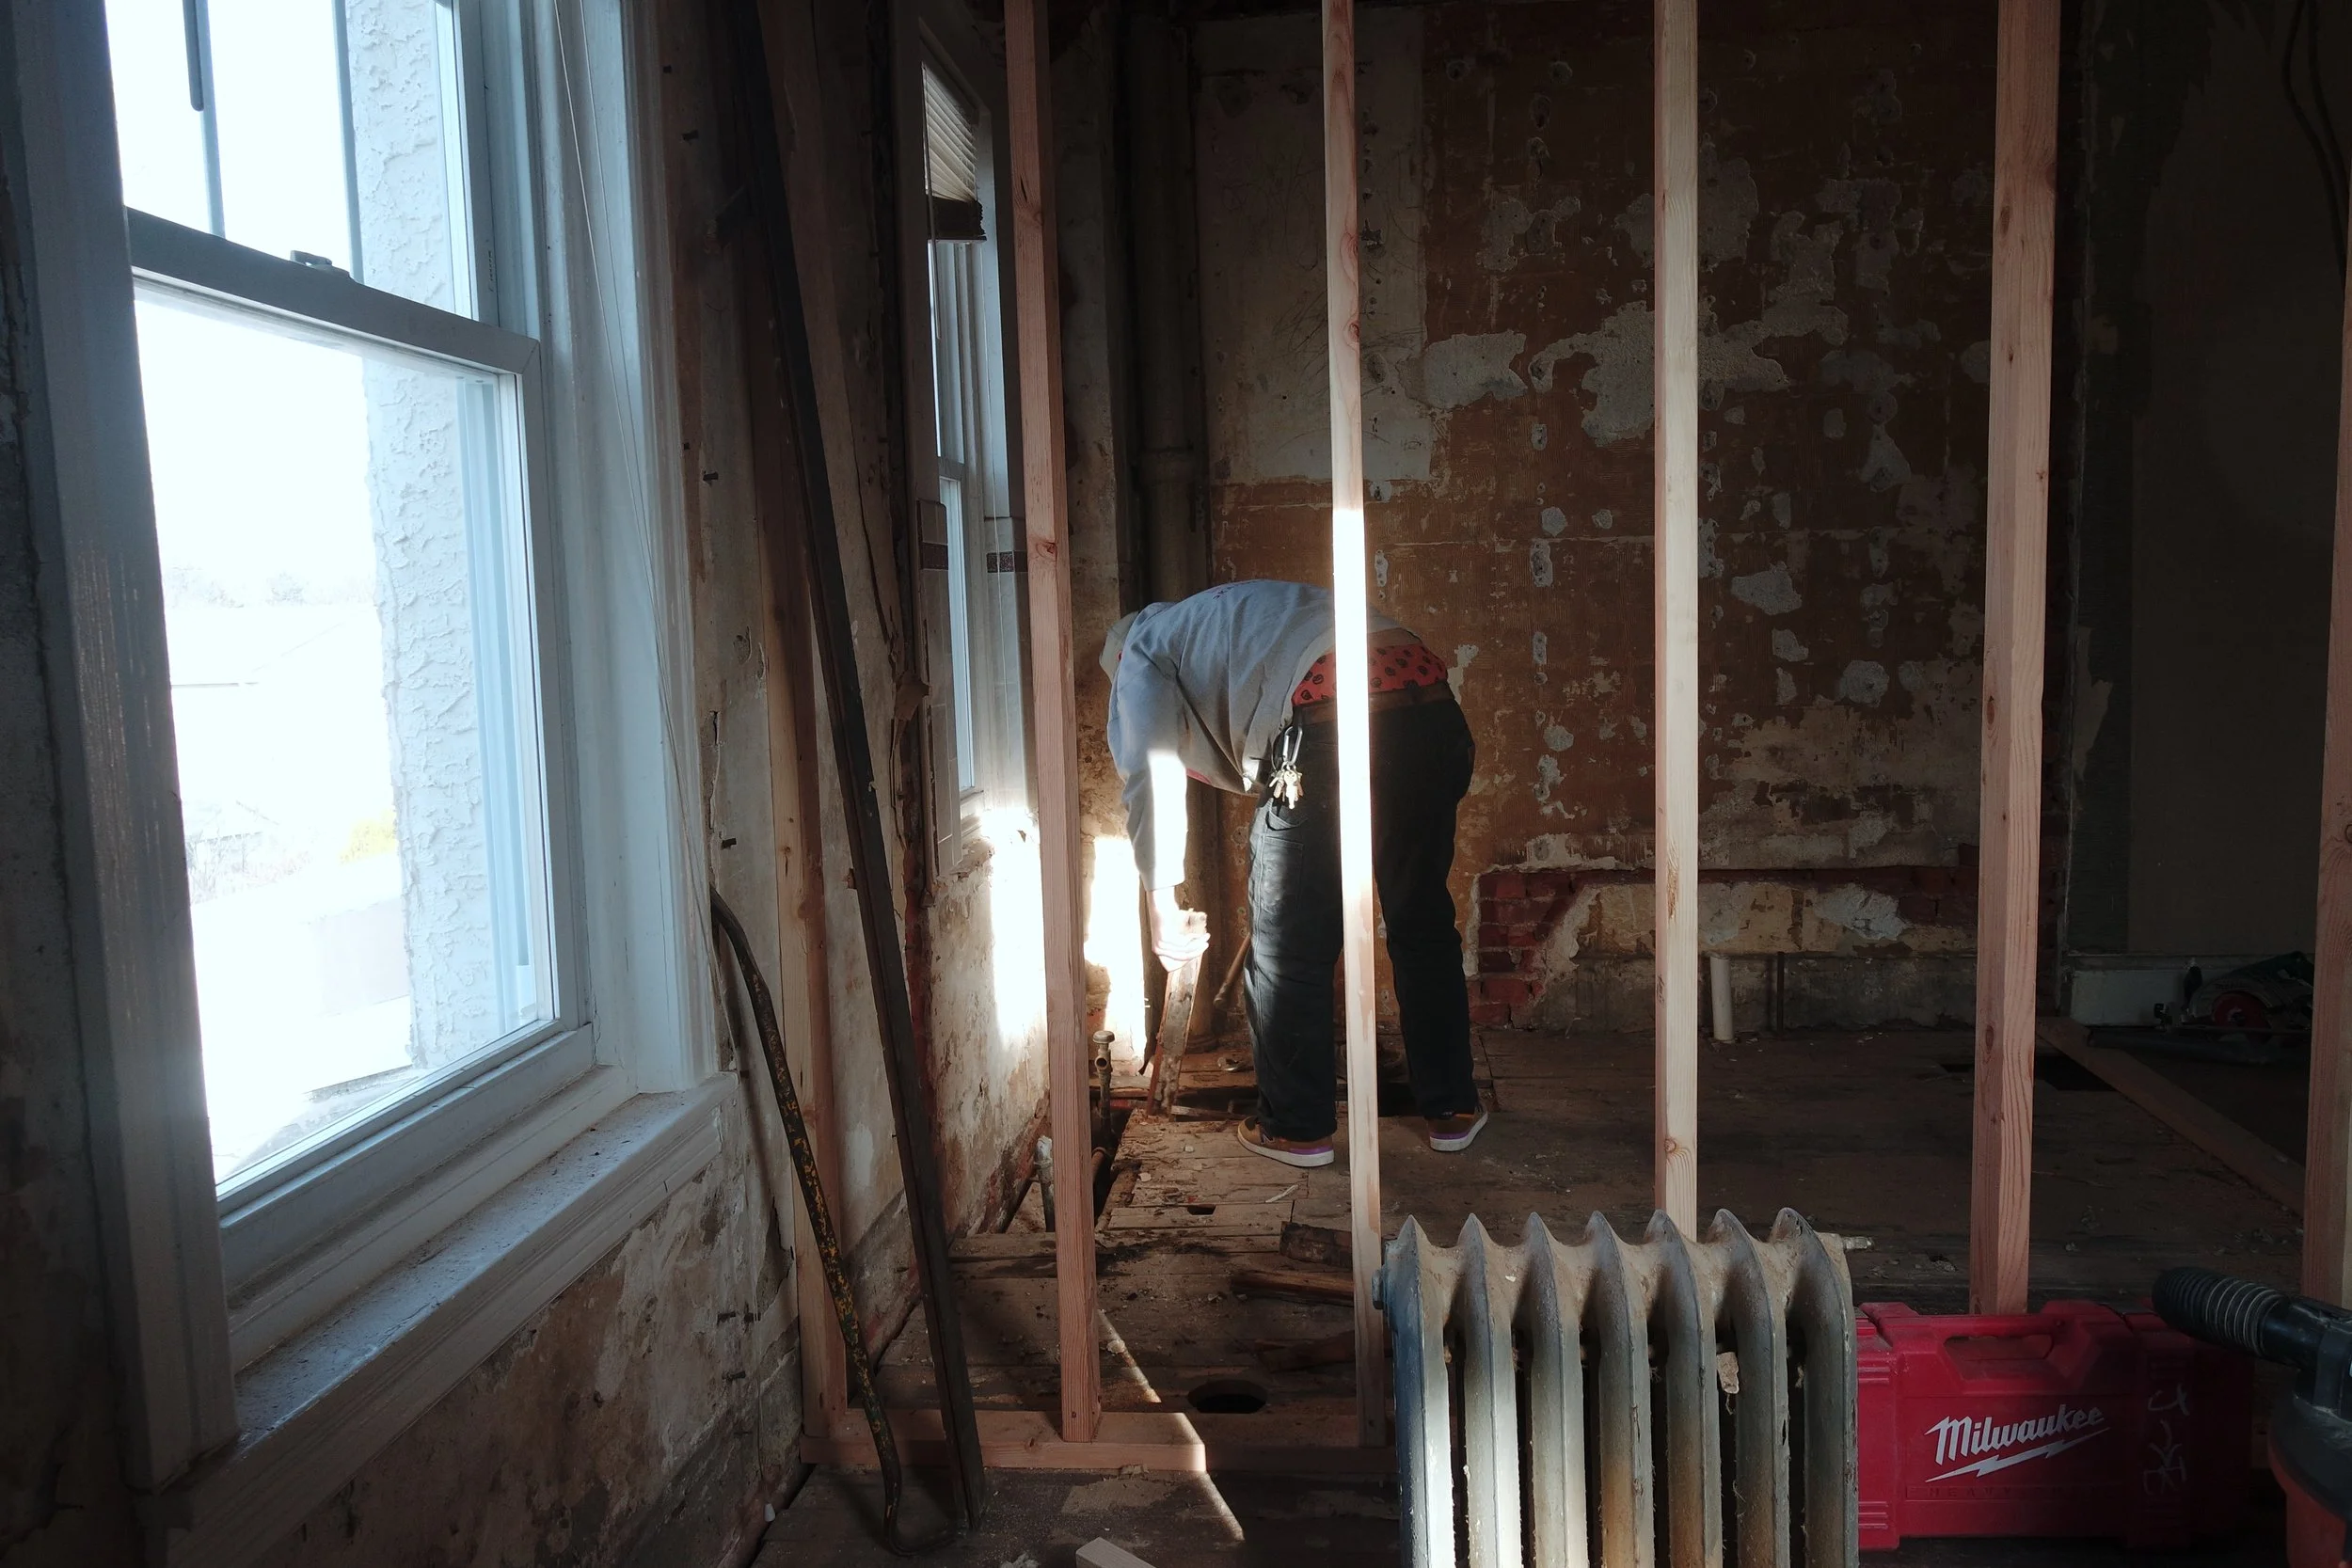
With Steve close by, we started to remove the bathroom flooring. This flooring was beyond salvaging, as it has clearly been cut up and haphazardly put back in literal pieces before, but still cutting it felt a little scary to me. We knew some sort of renovation had been done the bathroom at some point, and this was necessary to find out exactly what. Well, it was sort of the worst and strangest case possible. The joists are the interior support of the home. I think of them as the ribcage, but it’s much more accurate to consider them the entire skeletal structure. Joists go from one end of the homes structure to the other, and then flooring and everything else is put on top. They hold up literally everything. If you have a basement you should be able to down there and look up to see beams that go horizontally from wall to wall of your foundation. So when we opened up the bathroom floor, to our absolute horror, we saw that TWO joists had been cut. Not a deep notch, which like, isn’t cool, but still, but a full CUT. The rest of the joist was just dangling there without support! Literally just vibes had been keeping this joist in the air for who knows how long? Twenty years? Resupporting the joist is now our top priority. How much do they cost? Is this even possible? A false wall was built between the kitchen cabinets and the previous ‘original’ kitchen. When we ripped up the floorboards we could see a clear narrow passage that revealed the old wallpaper and flooring. This false wall likely was the thing holding up the joist, which meant we would have to tear down the entire kitchen to fix this. Our plan was to keep the kitchen to save a little money, and renovate it in a few years after we saved for a little while. But this discovery hurts big time. Stay tuned! and subsribe to my channel if you haven’t already!