
Home Renovation episode 8, The kitchen comes down
Welcome back to another entry from my home renovation series. If you like to read up on everything that you watched in the episode, or you’re just not a video kinda guy, I appreciate you checking out my blog! Today I’m going to discuss the demolition of the kitchen. When looking at this house, I felt like the kitchen was off, but to date, it was the largest kitchen I would have the pleasure of living with, so although, odd, I thought, “Okay, but spacious 👌.” That was until we took apart the floor in the bathroom to realize the entire large, and odd kitchen, had been designed to hold up the second story bathroom. We had never used the upstairs bathroom, not even to wash our hands, so I can’t say if it even was a real bathroom, that has been used, flushed, showered in, but when we took apart the floor we were looking at a very dangerous situation. One that required said ‘structural kitchen,’ to be removed.

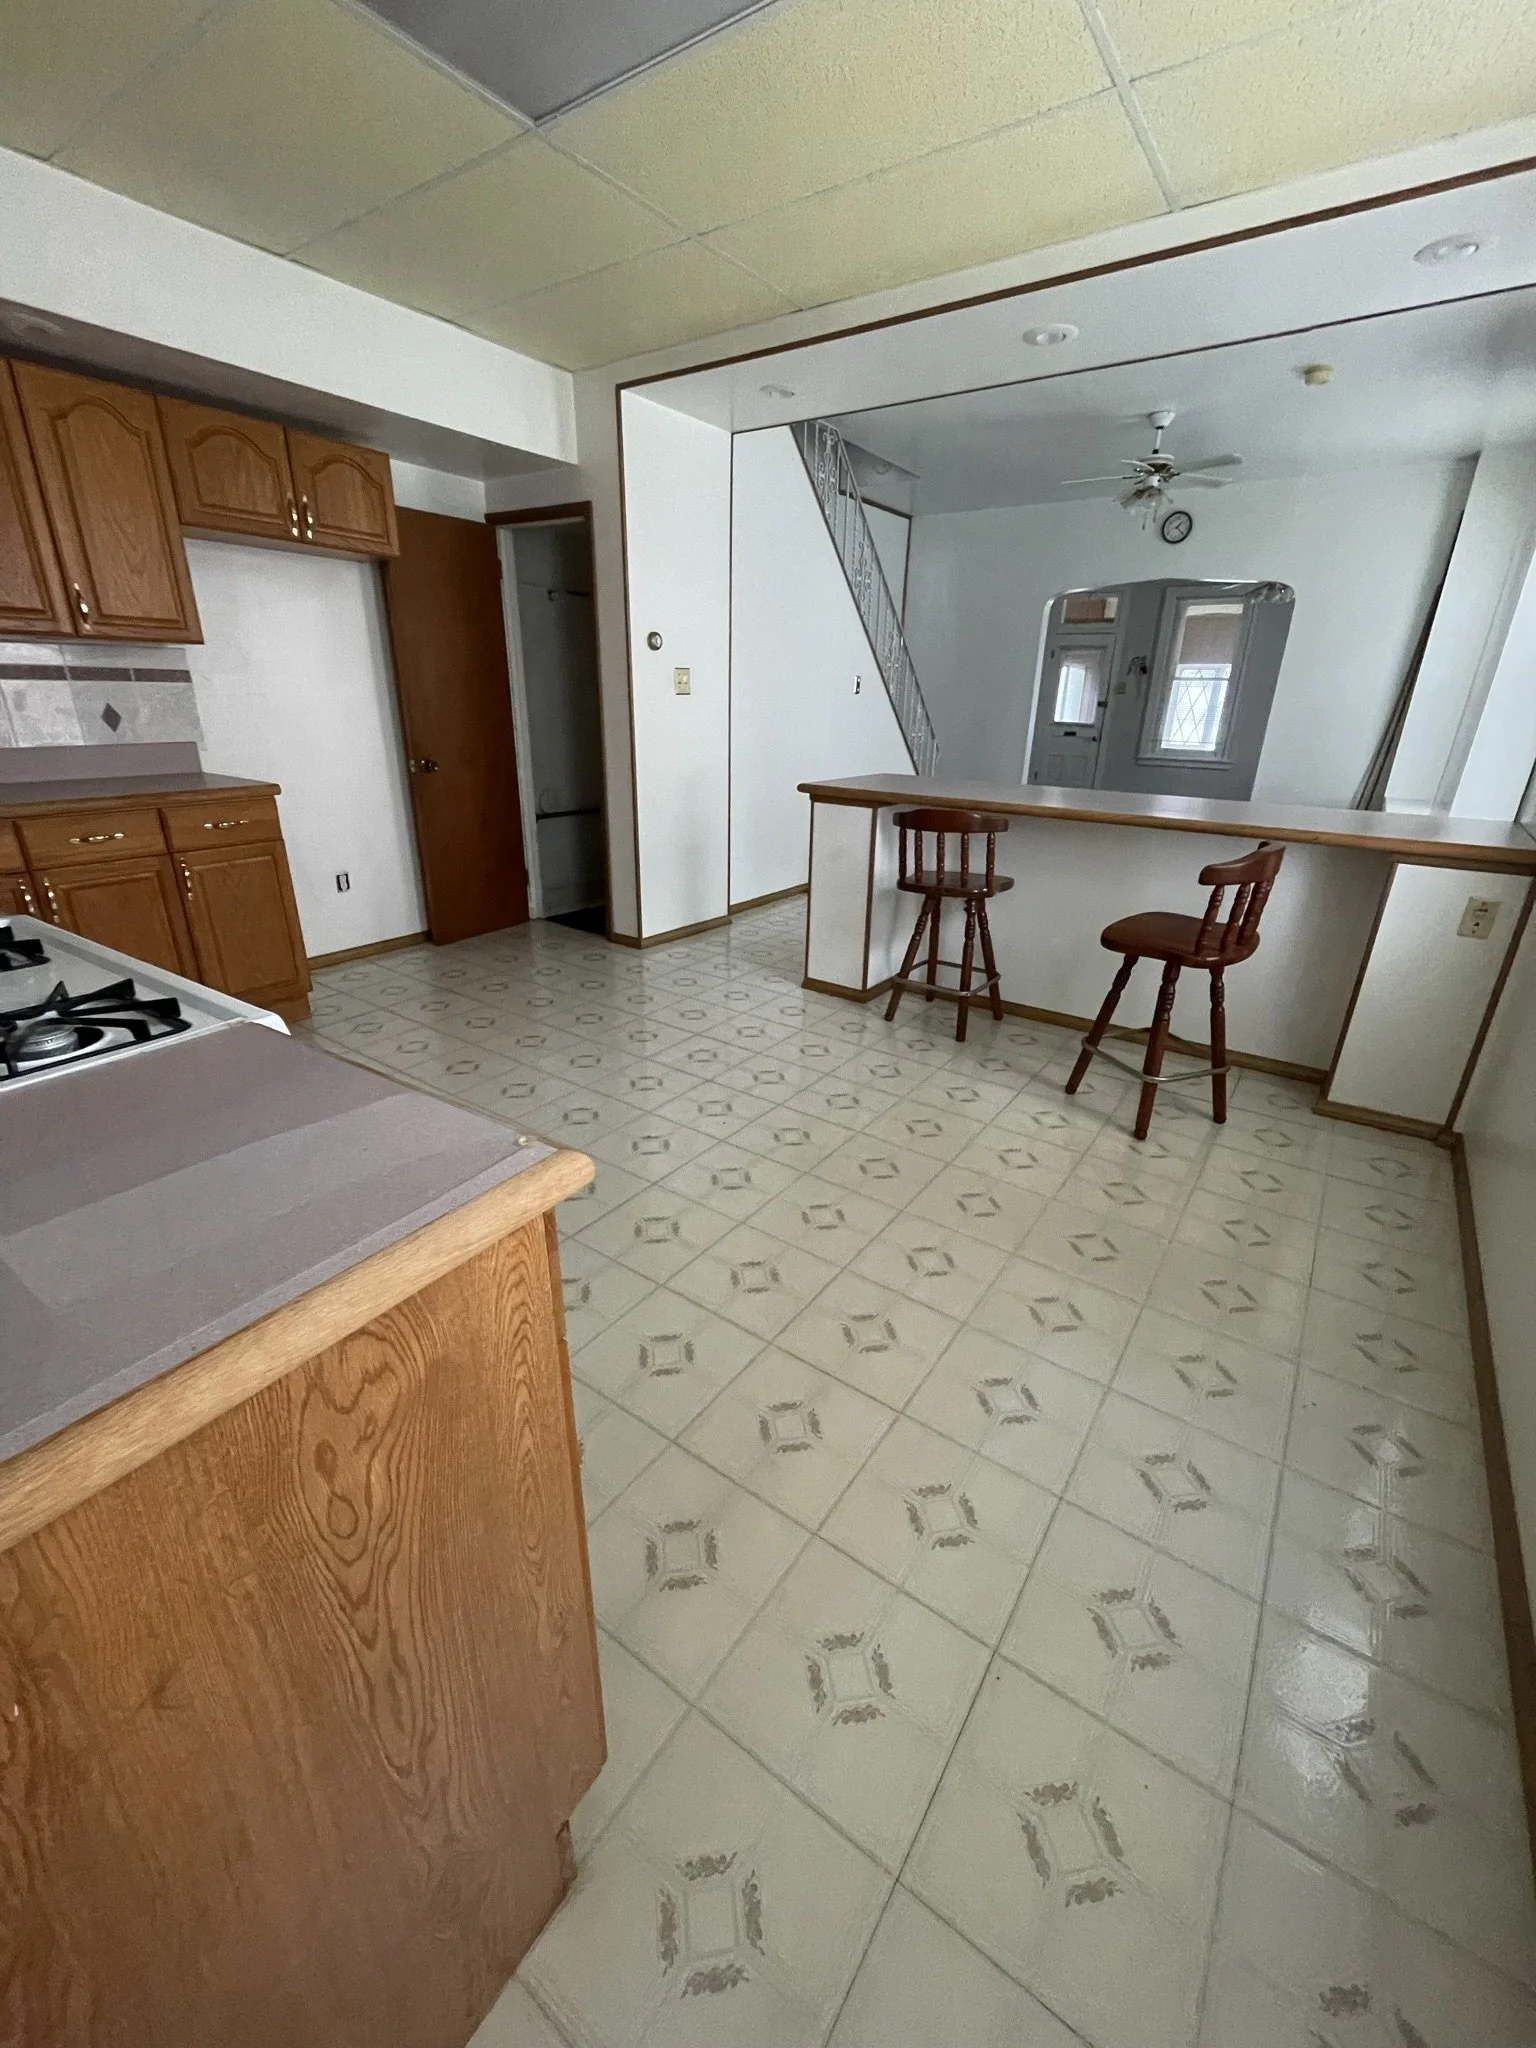
Picture of the kitchen from the initial house tour (day one)
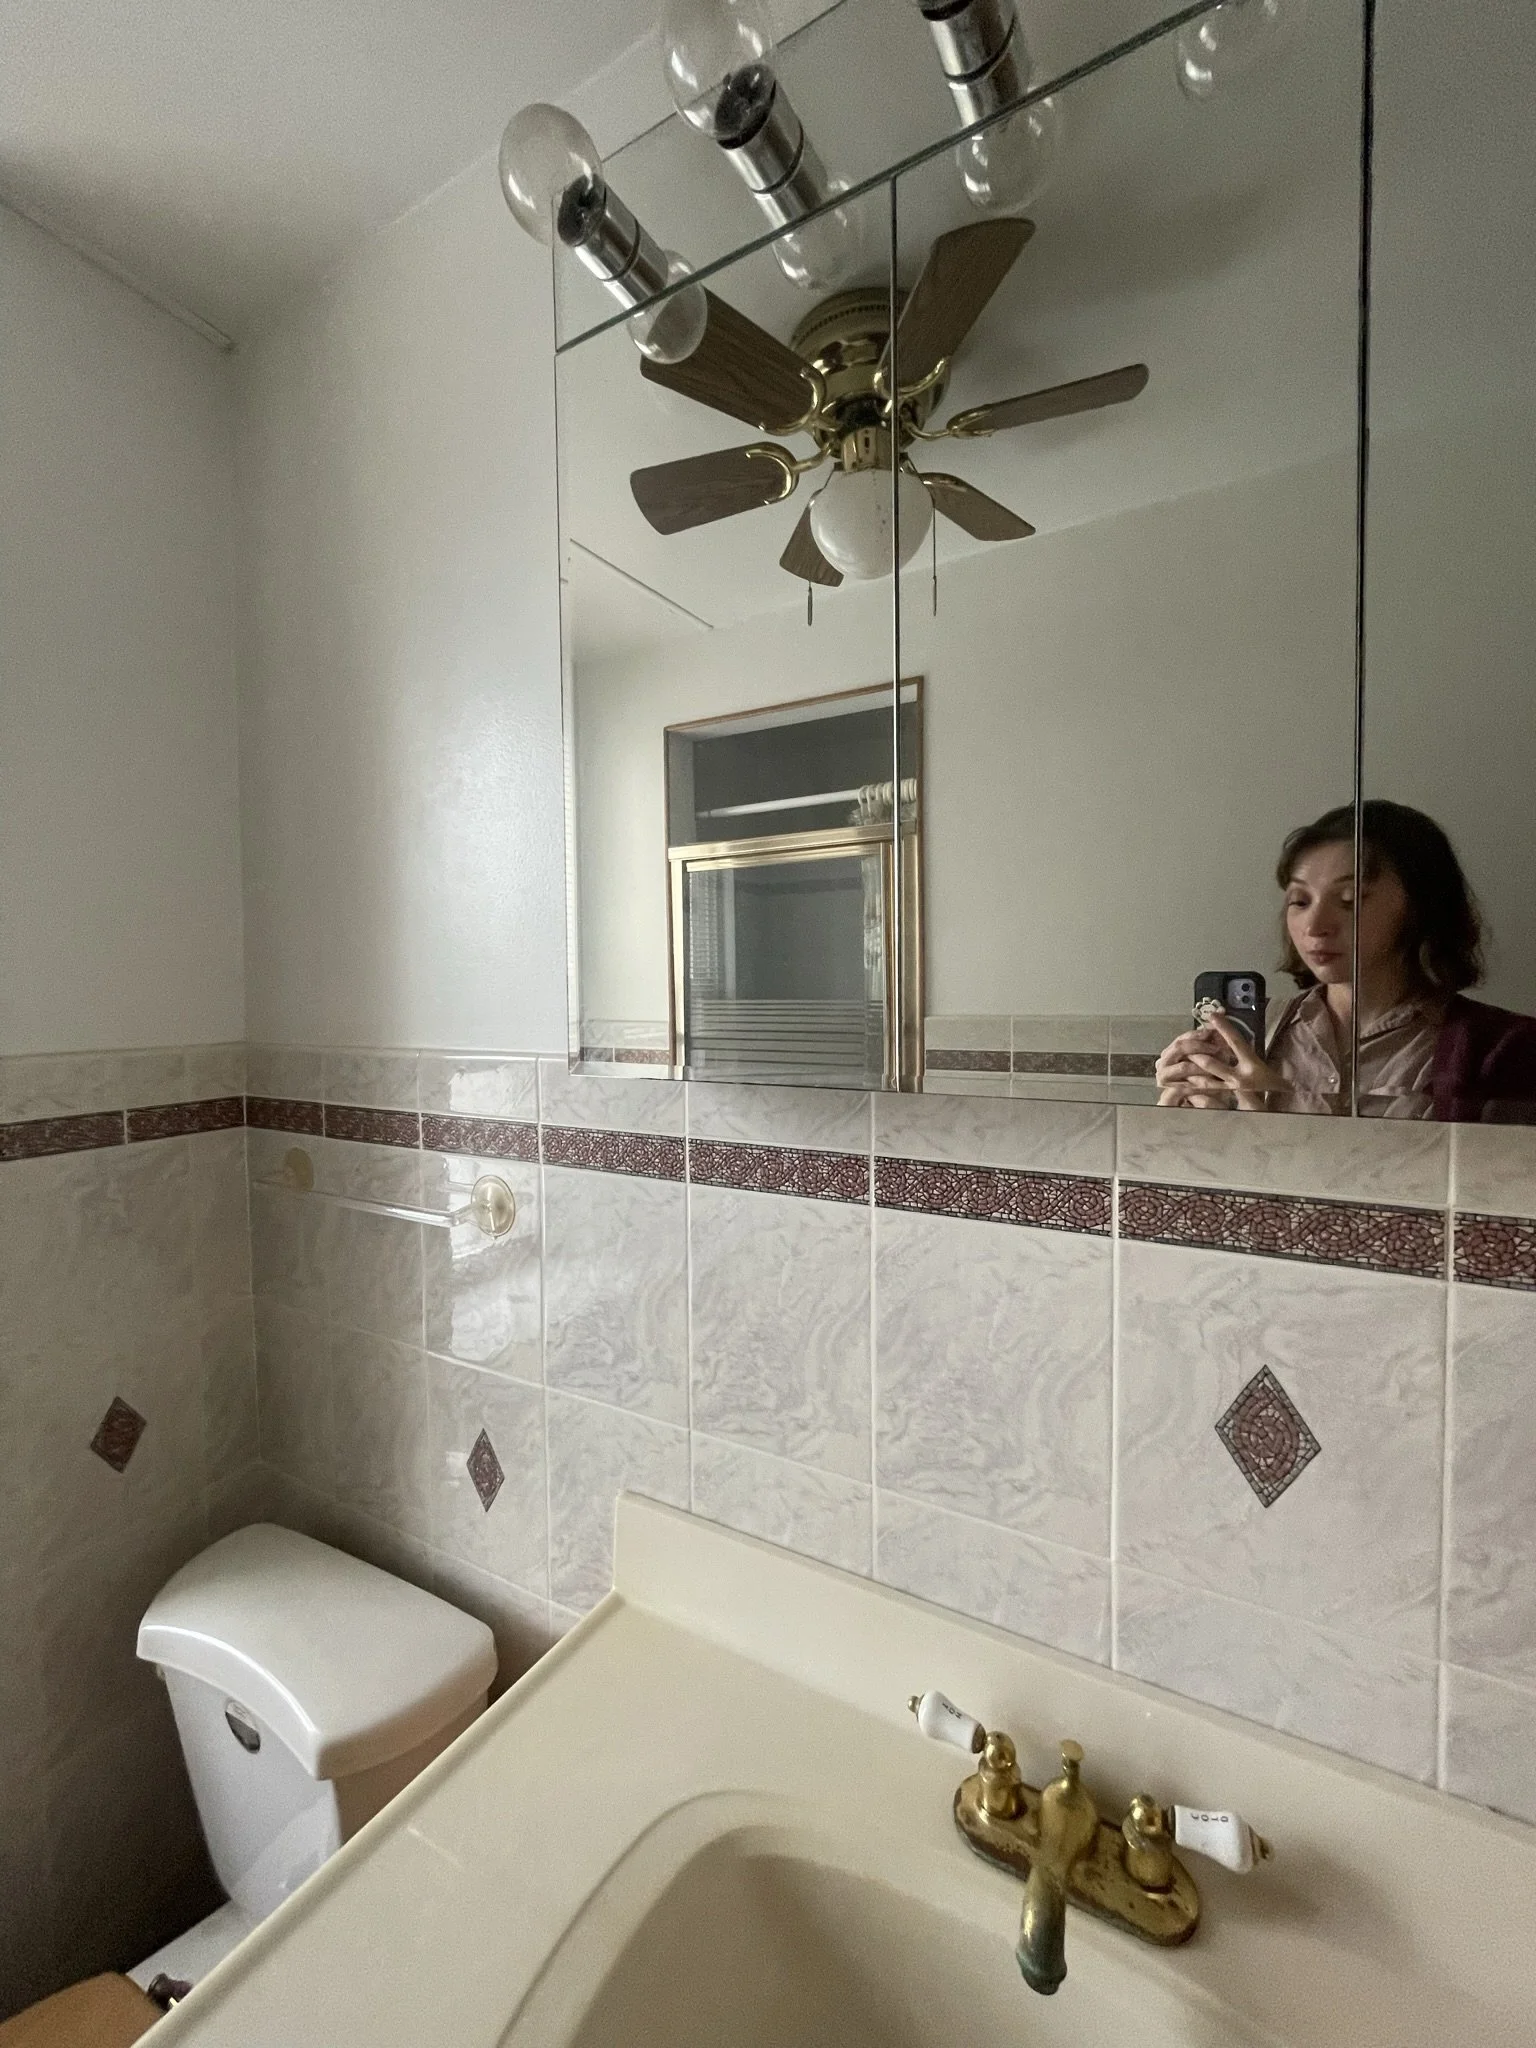
Picture inside the bathroom from our first visit with our real estate agent
A different view of the kitchen with all of it’s soffit secrets from our first visit.
I’m a broken record at this point, but our intention was always to save the kitchen. The adverage kitchen renovation is somewhere between $10k-$25k in the states, and I wanted to avoid stacking that cost on top of everything else, and suffer through the dated kitchen until we could properly save up in a few years, and address is then. In hindsight that all seems a bit foolish, since we have to take the house down to the studs to replace…well..everything, but when I thought we could keep the kitchen, I was sad to see it go. So we decided to carefully remove everything we could from the kitchen for reuse. TV shows where they come into the kitchen and smash everything to pieces kept alluding me during this process, because it seemed just as easy to unscrew the cabinets from the wall as it would smashing them? It must just make for good television, and probably a good youtube video👀 That and our cabinets were in pretty much new condition. New ‘old stock’.

group photo from the kitchen demo. also i little peak into the conditions of the cabinets. Pretty clean looking👀
The living room filling with kitchen cabinets.
After safely removing and labeling all the cabinets, we started demolition on the wall. The upper half of the wall was plywood for some unknown reason, so that had to be cut out. The rest of the walls, and the mystery soffit was all drywall, so that was removed easily. We worked our way across the wall until we made it to our mystery soffit. After opening it up, it revealed that yes, it was 100% a structural wall built to hold up the cut joist above. Holy cow. Now I have to say, we bought this house from a man who passed away, and waved the inspection, so there’s no one to get mad at in this case, other than ourselves really, but this wasn’t something that caused me too much distress. Jon had been working on a job during the week and was able to use the extra materials from that job for this repair. I don’t know how much joists normally cost, but we saved money on the two that he brought home. So we can scratch our heads about this situation, but more or less I was very interested in the inner workings of home repair, so this was all exciting to me.

The soffit was so big I could fit inside.

He thought it would be funny to have his head cut off in all the photos, but i don’t get the vision here.
With the soffit revealed, we got everything ready to repair the joists. I explained this in my video, but it’s a lot, so let me try to simplify it. The way to fix a damaged joist is to attach a new joist to it, and hang the new joist to a board that has been attached to the foundation wall of the home. The board that is attached to the foundation of the home has to be attached using bolts that are secured with epoxy. So first we laid the ‘foundation attachment’ board, called a ledger. With the ledger in place, with the help of our friend, new joists were then hung from the ledger board, and attached to the damaged joist, known as ‘sistering’ the joists. Things were ‘temp’d’ into place in the video, because the proper hardware wasn’t available until monday, so I don’t have footage of jon installing the joist hanger.